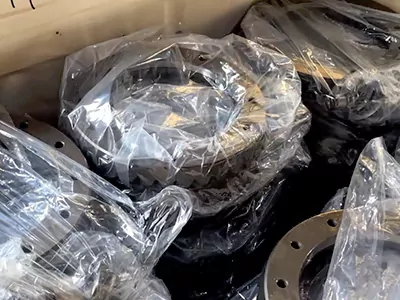
STEP 01: Forging Blank Preparation
Before precision machining begins, crown wheel and pinion components go through a controlled forging blank preparation stage. This phase ensures proper material structure, density, and stress condition, forming a reliable foundation for subsequent gear cutting and heat treatment operations.
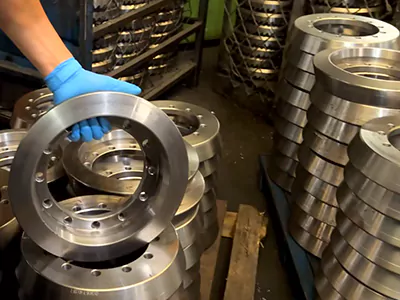
Raw Material Cutting and Forging
Certified 8620 or 20CrMnTi steel bars are cut and hot-forged to form dense, high-strength crown wheel and pinion blanks.
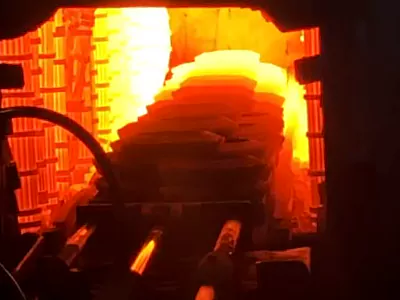
Blank Normalizing
Forged blanks are normalized to refine grain structure, relieve stress, and stabilize material for machining.
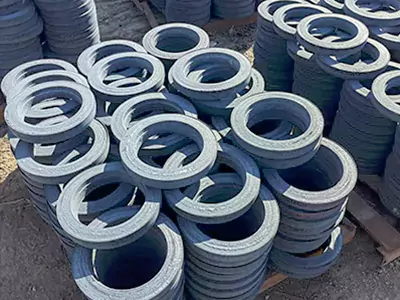
STEP 02: Spline Machining and Drilling Operations
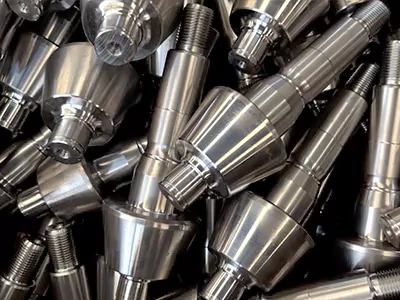
Pinion Spline Machining
Splines are machined on the pinion shaft for accurate form and fit, ensuring reliable torque transmission and mating shaft engagement.
Crown Wheel Drilling
Mounting and locating holes are drilled on the crown wheel with controlled positional accuracy. This ensures proper alignment and load distribution during differential assembly.
STEP 03: Pattern Setup & Calibration
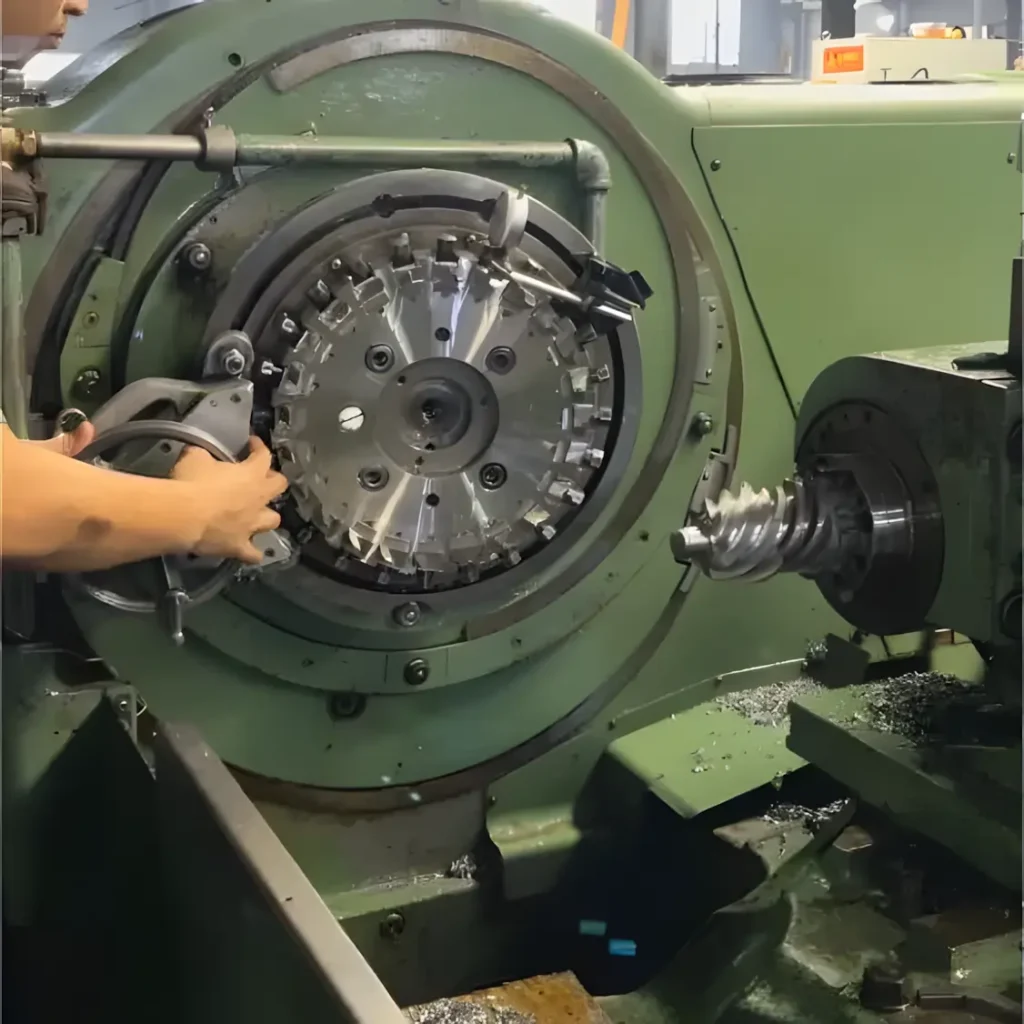
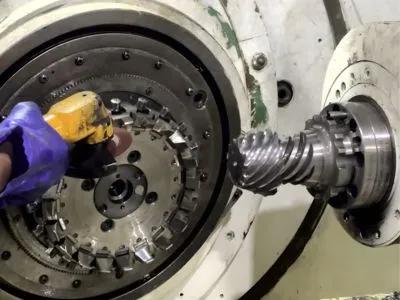
Pre-Production Parameter Optimization
This phase takes place during the initial setup and trial cutting stage. Based on the specific gear geometry, we meticulously adjust the machine’s reference surfaces and cutting parameters. By performing First Article Inspections (FAI), we analyze the tooth contact pattern on test samples to ensure the theoretical design is perfectly translated onto the physical gear.
Establishing the Batch Standard
STEP 04: Gear Tooth Cutting
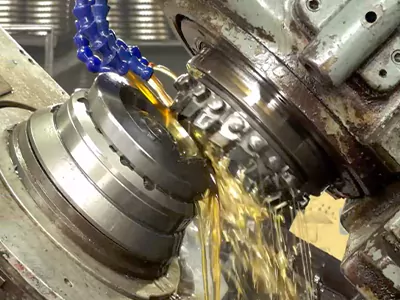
Gear tooth profiles are precisely generated on both the pinion and crown wheel using synchronized cutting parameters. This ensures that the accurate meshing geometry required for a high-performance mating pair is established at the source.
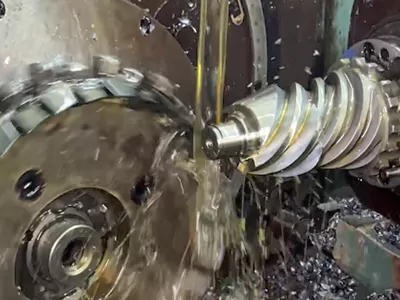
Pinion Tooth Cutting
Pinion teeth are generated using dedicated gear cutting machines according to the specified ratio and geometry. Profile and lead accuracy are strictly controlled to ensure correct meshing with the mating crown wheel.
Crown Wheel Tooth Cutting
Crown wheel teeth are cut with matched cutting parameters to the pinion. Tooth profile, pitch accuracy, and spacing are controlled to maintain proper pairing and stable load distribution.
STEP 05: Edge Refinement & Thermal Hardening
Before precision machining begins, crown wheel and pinion components go through a controlled forging blank preparation stage. This phase ensures proper material structure, density, and stress condition, forming a reliable foundation for subsequent gear cutting and heat treatment operations.
Chamfering and Deburring
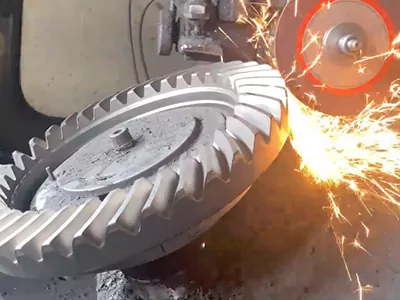
Sharp edges and burrs are removed to reduce stress concentration and protect tooth edges. Chamfer dimensions are controlled for handling safety and stable gear meshing.
Heat Treatment Preparation
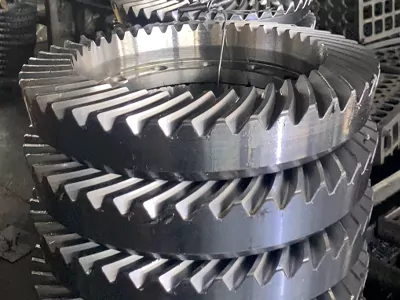
Components are cleaned and properly loaded to ensure uniform thermal response and effective distortion control during the heat treatment process.
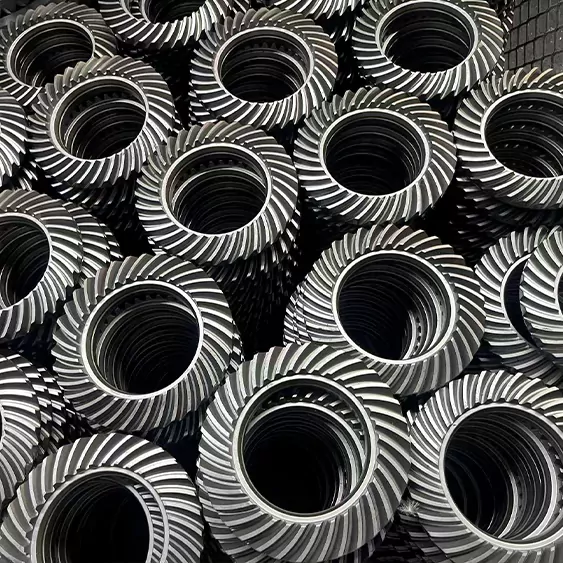
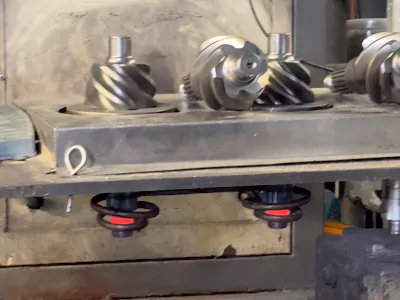
Carburizing and Quenching
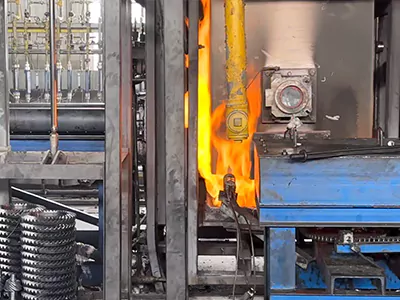
Gears are carburized in controlled atmosphere furnaces and subsequently quenched to achieve the required surface hardness, case depth, and core toughness.
STEP 06: Surface & Stress Refinement
Shot Blasting
Both the pinion and crown wheel undergo high-intensity shot peening. This process not only removes heat-treatment scale but, more importantly, induces residual compressive stress on the tooth roots. This acts as a protective layer, significantly extending the gear’s fatigue life and resistance to surface cracking.
Pinion Stress Relief
To ensure long-term dimensional stability, the pinion undergoes a localized tempering cycle. By neutralizing internal residual stresses from the hardening phase, we prevent microscopic distortions, ensuring that the pinion maintains a true axis during final grinding and high-speed operation.
STEP 07: Precision Grinding
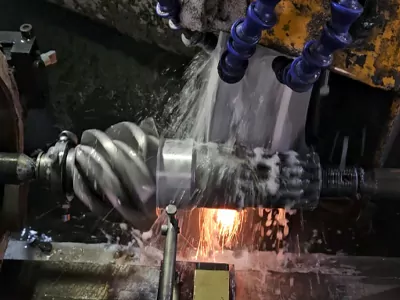
Pinion Grinding
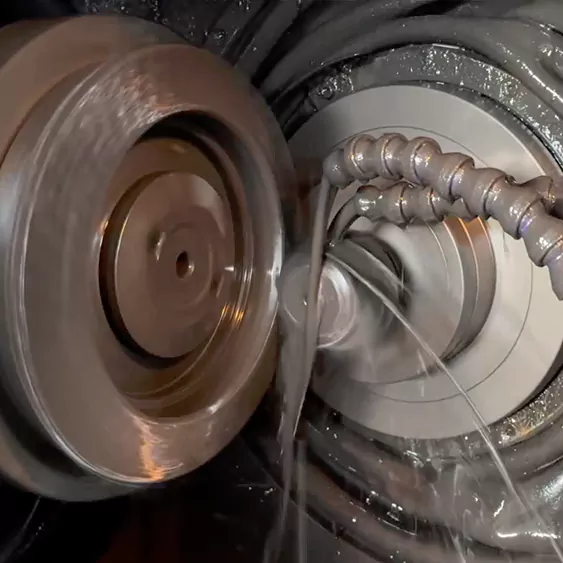
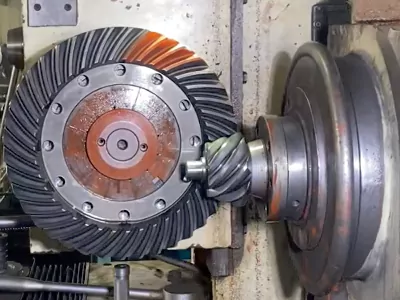
The pinion tooth surfaces and journals are ground to final tolerance and finish, ensuring accurate geometry and smooth operation.
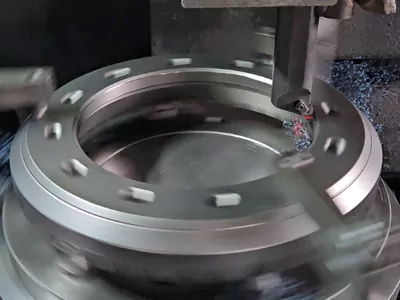
Crown Wheel Grinding
The crown wheel is precision ground to correct heat treatment distortion and achieve final dimensional accuracy and surface finish quality.
STEP 08: Lapping and Inspection
Gear Lapping
Matched sets are lapped with fine abrasive to optimize tooth contact pattern, reduce micro-irregularities, and improve meshing smoothness for long-term durability.
Final Inspection
Each set is thoroughly inspected for contact pattern, backlash, and key dimensions using precision gear testing equipment, ensuring full compliance with design and assembly requirements.
STEP 09: Cleaning and Packaging
Finished crown wheel and pinion sets are cleaned, marked for traceability, and carefully packaged to ensure protection, quality, and safe delivery to customers.
Industrial Cleaning
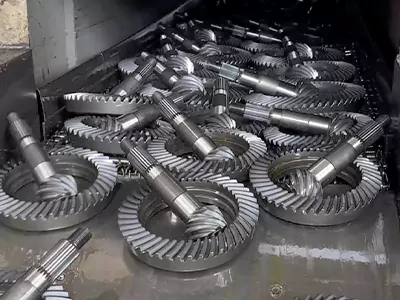
Finished gears are thoroughly cleaned to remove abrasive residue and oil, ensuring clean surfaces for protection and delivery.
Marking
Each gear set is permanently laser-marked with the gear ratio and batch number to ensure full traceability throughout its lifecycle.
Packaging and Storage
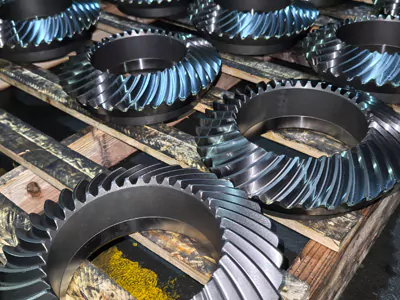
Products receive anti-corrosion protection and are securely packed for transport and warehouse storage
