In the world of automotive engineering and heavy machinery maintenance, precision is not just a goal—it is a requirement. Among the various adjustments required during a differential rebuild or ring and pinion installation, setting the differential backlash is arguably the most critical. If the backlash is too tight, the gears will overheat and gall; if it is too loose, the impact loading will eventually lead to chipped teeth and catastrophic failure.
Understanding Differential Backlash
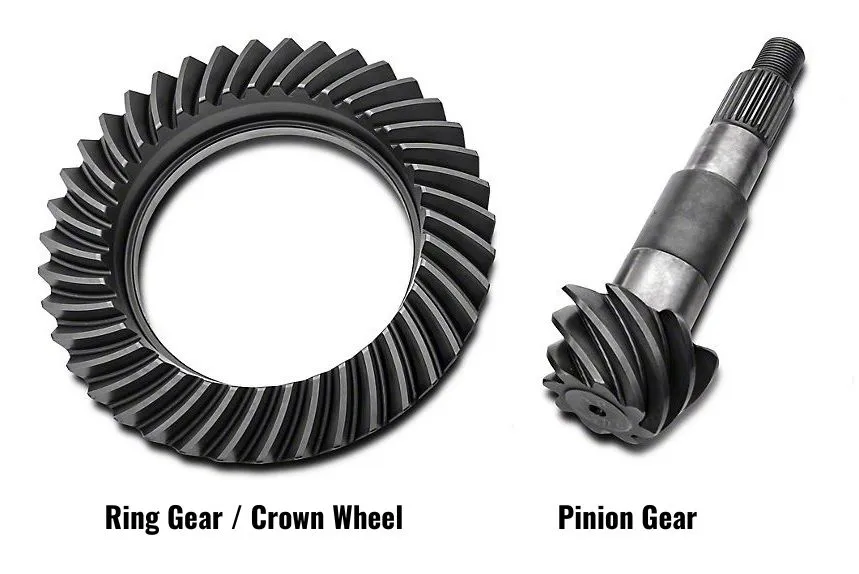
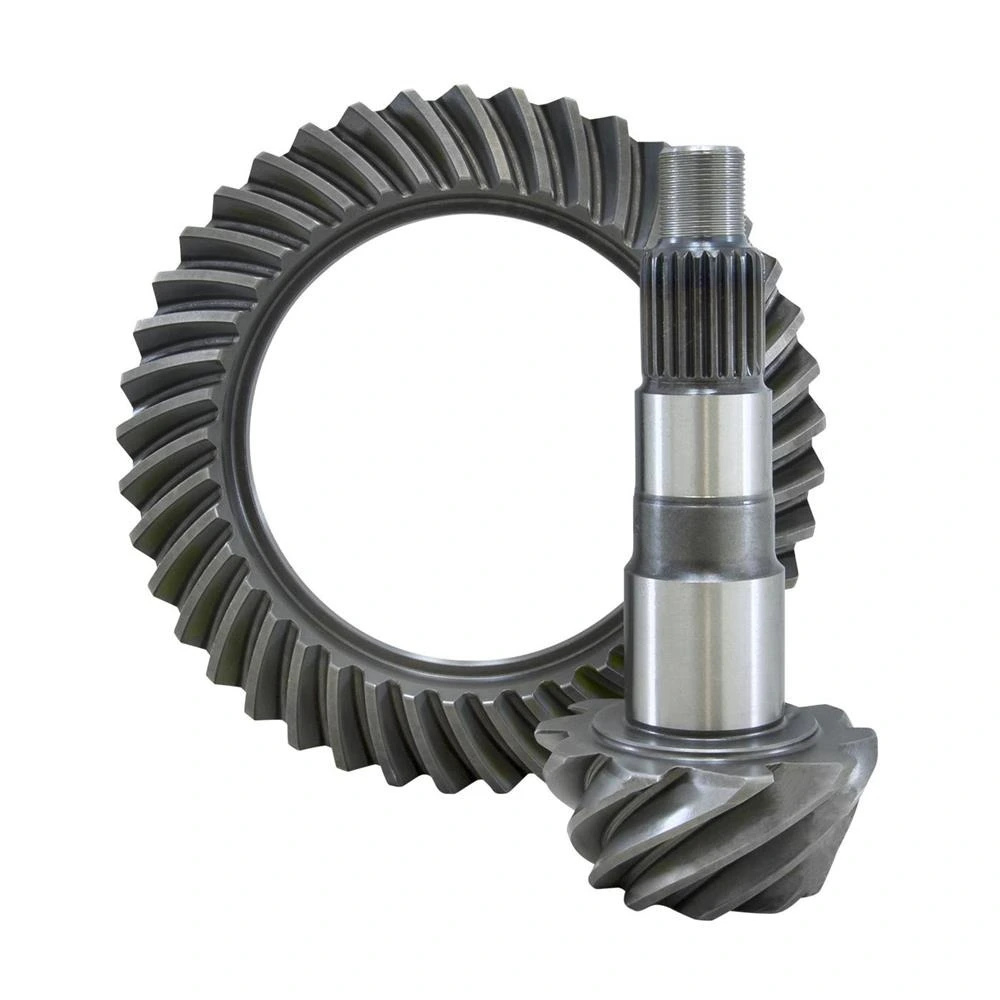
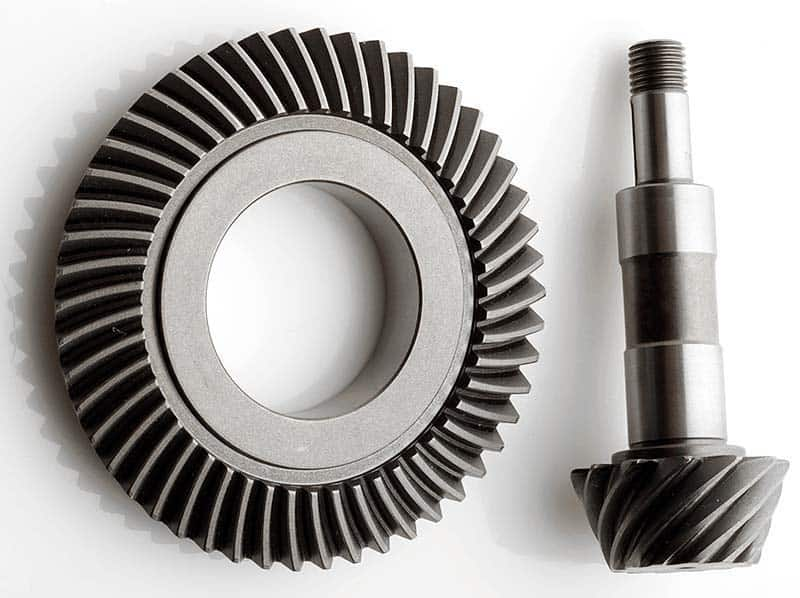
Before picking up a dial indicator, one must understand what backlash actually represents. In simplest terms, backlash is the amount of clearance between mating gear teeth. Specifically, it is the distance the ring gear can move before it makes contact with the pinion gear tooth while the pinion is held stationary.
Why Is Backlash Necessary?
Tools Required for Professional Backlash Adjustment
To achieve a factory-spec adjustment, specialized measurement tools are non-negotiable. Relying on “feel” or “eye-balling” the gap is a recipe for disaster in high-torque applications.
- Dial Indicator with Magnetic Base: This is the primary tool for measuring backlash in thousandths of an inch.
- Micrometer: Used to measure shim thickness when adjustments are required.
- Gear Marking Compound: Essential for verifying the contact pattern, which works in tandem with backlash settings.
- Torque Wrench: To ensure carrier bearing caps and pinion nuts are seated to the manufacturer’s exact specifications.
- Case Spreader (Optional but Recommended): Often required for certain differential types (like Dana axles) to seat the carrier and shims correctly.
Step-by-Step Process: Measuring Existing Backlash
- Clean the Surfaces: Ensure the ring gear teeth and the housing are free of debris. Even a tiny metal shaving can throw off a dial indicator reading.
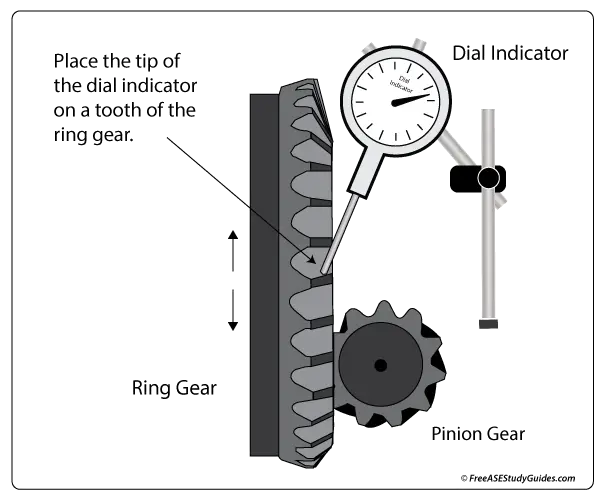
- Mount the Indicator: Attach the magnetic base to the differential housing. Position the plunger of the dial indicator so it is perpendicular to the “heel” (the outer diameter) of a ring gear tooth.
- Zero the Gauge: While holding the pinion gear perfectly still, rotate the ring gear until it touches the pinion tooth. Set your dial indicator to zero.
- Take the Reading: Rotate the ring gear in the opposite direction until it contacts the other side of the pinion tooth. The movement shown on the gauge is your backlash.
- Repeat: Measure at four different points around the ring gear (every 90 degrees). This ensures the ring gear is mounted flat and isn’t warped.
How to Adjust Differential Backlash
The Role of Shims
- To Decrease Backlash: You must move the ring gear closer to the pinion. This is achieved by removing shim thickness from the non-ring gear side and adding an equal amount to the ring gear side.
- To Increase Backlash: You must move the ring gear further away from the pinion. Remove shim thickness from the ring gear side and add it to the opposite side.
The "Total Shim Stack" Rule
The Relationship Between Backlash and Gear Contact Pattern
Interpreting the Marking Compound
- High Backlash: Often pushes the pattern toward the heel of the tooth.
- Low Backlash: Often pulls the pattern toward the toe of the tooth.
Common Mistakes in Backlash Adjustment
Even experienced technicians can encounter issues when shimming a differential. Avoiding these common pitfalls will save time and prevent costly returns.
1. Neglecting Carrier Preload
2. Using Damaged Shims
3. Misinterpreting Noise
Just because a differential is quiet doesn’t mean the backlash is correct. Conversely, a slight whine doesn’t always mean the backlash is off—it could be a bearing issue or a low-quality gear set. Always trust the dial indicator over your ears during the installation phase.
Differential Maintenance and Long-Term Reliability
Troubleshooting Backlash Fluctuations
- Debris: Dirt or a burr between the ring gear and the carrier mounting surface.
- Cross-threaded Bolts: The ring gear bolts weren’t torqued in a star pattern, causing the gear to sit unevenly.
- Warped Carrier: The carrier itself is bent or machined incorrectly.
In these cases, the differential must be disassembled and the mounting surfaces cleaned and checked with a straightedge or a lathe.
Technical Specifications for Heavy-Duty Applications
Conclusion
At XJXPARTS, we understand that high-quality components are the foundation of any successful repair or build. As a dedicated factory, we provide the precision-engineered differential parts and kits you need to get the job done right. If you have any questions or require bulk supplies, please get in touch with us today.